Alright, three main points in relation to this satisfying and super-low-calorie dish. (And just as some background information, I have never eaten pad Thai chicken before, so this is in no way in comparison to the real thing. In actuality, I’m sure it’s nothing like the original…which is fine with me.)
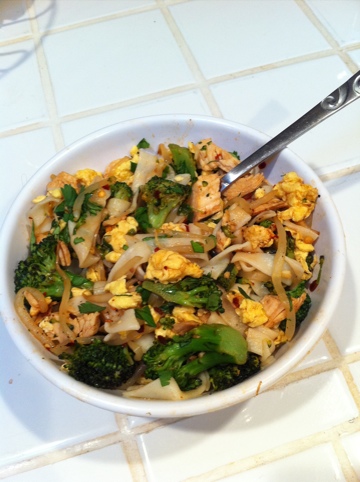
First point: The calorie count compared to the amount of food per serving is jaw-droppingly low. I was definitely full from my 1.5 cups (half the recipe) without going over 300 calories. Yay for guilt-free!
Second point: I’m going to make a suggestion here. If you choose to try out this recipe, double the sauce. Yes it will add calories, but I think there is plenty of room to spare. While I enjoyed this meal as was, I felt that the sauce did not shine through as much as it could have. But that’s an easy fix. The sauce itself is delish, so make more.
Third point: The noodles. Has anyone else ever heard of these shirataki things? I had not until looking through the Hungry Girl book, and WOW are they low freakin’ calorie. Only problem is, they’re a difficult to find. At least they were for me. They’re supposed to be in the same section as tofu, from what I hear. Well, first I looked for them at Target; then I tried my luck at the new Grocery Outlet to no avail; then I went to Trader Joe’s; then to this Asian market in Dublin called Ranch 99 (smells like fish inside… yuck). I was sure that if anyone carried this stuff, it would be an Asian market. Lucky for me, no one there spoke much English. I even pulled up a picture of the ingredient I was looking for, yet still no one could help. They just looked confused and kept pointing to the noodle section I’d been muttling through for what felt like an hour. I kept telling them I’d already checked, but they didn’t get it. Such a waste of time and olfactory senses. Ugh. Anyway…
I finally found the illusive shirataki noodles at my local Whole Foods. Now, Safeway or Raley’s may actually carry these as well; I know that not everyone has a Whole Foods nearby. But I happened to check WF first. I’m lucky to have one just down the street from work. At least shirataki is affordable (something like $1.69 a package), and does not consume my Whole Paycheck as the store nickname implies. Score.

Now on to the recipe…
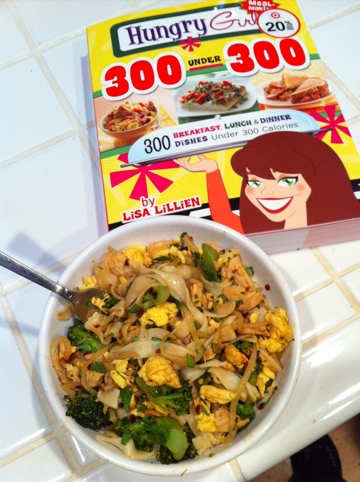
Hungry Girl’s Chiky Pad Thai
From Hungry Girl 300 Under 300 by Lisa Lillien
Ingredients:
2 packages House Foods Tofu Shirataki Fettuccine Shaped Noodle Substitute
2 tbsp. ketchup
2 tbsp. lime juice
1 tbsp. sugar-free apricot preserves (I had strawberry on hand, and it worked fine)
2 tsp. crushed dry-roasted peanuts (I ommited)
2 tsp. brown sugar (not packed)
1 tsp. lite/low-sodium soy sauce
1/4 tsp. chopped garlic
1/4 tsp. crushed red pepper, or more to taste
1/2 cup fat-free liquid egg substitute (like Egg Beaters Original)
6 oz. raw boneless skinless lean chicken breast, cut into bite-sized pieces
Dash each salt and black pepper
2 cups chopped broccoli
1 1/2 cups bean sprouts
3/4 cup 1-inch scallion pieces
Optional topping: chopped cilantro (I recommend it!)
Directions:
Use a strainer to drain and rinse shirataki noodles well. Pat dry. In a large microwave-safe bowl, microwave for 1 minute. Drain excess liquid. Dry as thoroughly as possible, using paper towels. Cut noodles up a bit and set aside.
To make the sauce: in a small bowl, combine ketchup, lime juice, preserves, peanuts, brown sugar, soy sauce, garlic, and crushed red pepper. Stir thoroughly and set aside.
Spray a wok or large skillet with nonstick spray and bring to medium-high heat on the stove. Add egg substitute and scramble until fully cooked, about 2 minutes. Transfer to a bowl and set aside.
Remove wok/skillet from heat (if needed, clean it once cooled), re-spray, and return to medium-high heat. Add chicken and season with salt and black pepper. Add broccoli, bean sprouts, scallion pieces, and 2 tablespoons water. Stirring occasionally, cook until chicken is no longer pink and broccoli is tender, about 4 minutes.
Add sauce, stir to evenly distribute, and continue to cook for about 2 minutes, until sauce is hot. Add scrambled egg substitute and noodles, mix well, and continue to cook until hot, about 3 minutes.
If you like, season to taste with additional crushed red pepper and/or top with cilantro. Serve and enjoy!


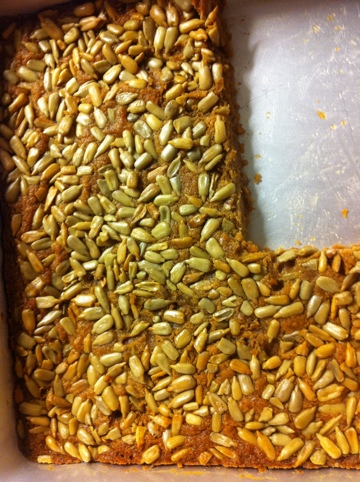
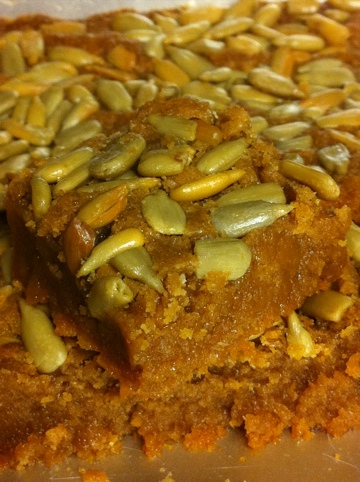

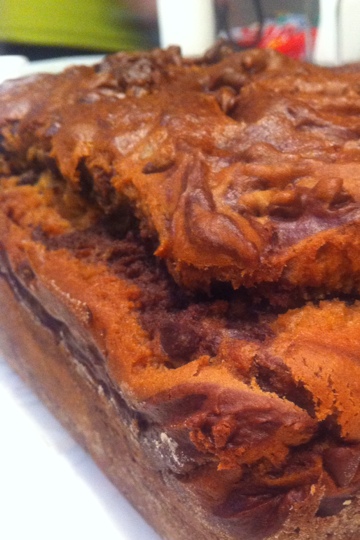


 I’m sure walnuts would be okay, too, if you don’t like pecans. Or use them both! These cookies, to me, are a lot like a sweetnened-up bowl of Great Grains cereal. Or maybe an outstanding chewy granola bar. They’re just out right addicting, and are officially my new go-to oatmeal cookie recipe.
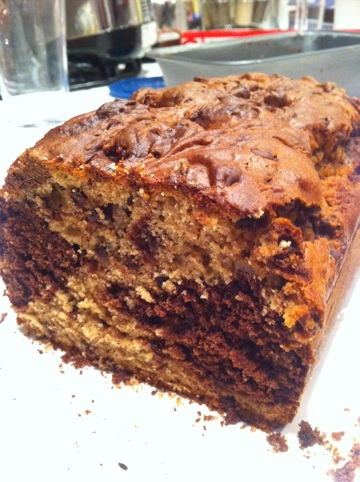

